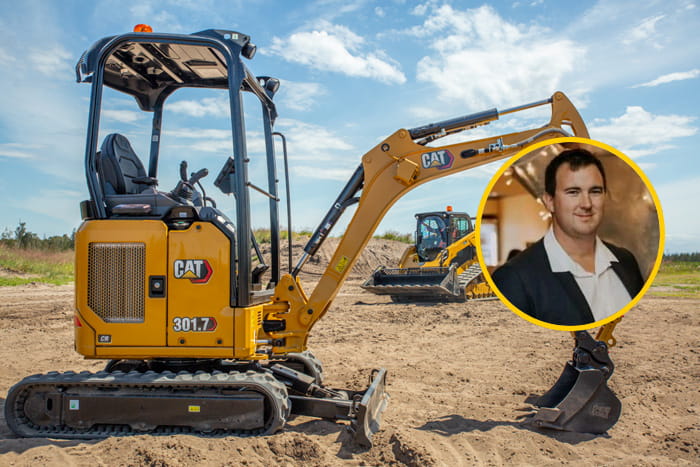
I’m excited to be able to share some of the basics of fluid sampling – I know it’s something that many of our brand-new, best on ground Team Yellow customers will be keen to understand because it’s a key part of learning to get the most out of your machine.
Fluid sampling is all about preventative maintenance, helping keep your equipment running at its peak. The fluids that help your machine run smoothly can also provide some tell-tale signs about potential health issues. Regular sampling means many such issues can be diagnosed before you may even realise there’s a problem brewing.
The consensus is that preventative maintenance can be three to five times more cost effective than unscheduled maintenance and repairs. Understanding the state of fluids in your equipment allows you to address issues early – that means maximum reliability which results in increased productivity and profitability for customers.
Knowing you could potentially have issues, and where those issues may be stemming from, allows you the flexibility to monitor and service at a time convenient to you rather than waiting until it could be too late.
So how does it work? At a high level, you take a sample, you send it to WesTrac, we analysis it and you get a report back that recommends any preventative actions you should take. But there’s a little bit more to it.
Accurate report recommendations rely on a good fluid sample being provided for best possible interpretation, so following the correct procedures when taking samples is key. Contamination control is a must – think clean tooling, dust free sampling areas, and new, empty fluid bottles.
Where on the asset you take your fluid sample from is also important to ensure you provide the best representative sample possible and minimise or eliminate the risk of misdiagnosis or confusing results. You don’t want to be taking samples from the bottom of your sump for example, as the sediment that may have settled might not provide a true reflection of your fluid condition.
But with those things in mind, the process is simple, and the tools provided to you also make it easy. You just need to follow these steps:
- Purchase a sample kit
- Take a good sample from the right location, as I’ve just covered
- Use Cat® S.O.S Web (accessed through VisionLink) to pre-register and print your sample card
- Send your sample card with your fluid sample by courier or using the pre-paid satchel to the WesTrac Lab (in WA or NSW)
- Then wait for your results to arrive, 24-48 hours after the lab receives the sample
When the sample gets to the WesTrac Lab, that's when the fun really begins.
Samples are unpacked and sorted into our automated decapper machine – robotics and automation take over to assist with speed, efficiency and safety to remove cannister lids. With anywhere between 1,500 and 2,500 samples received daily, the team are happy to leave this bit to the robots.
The sample material is labelled, poured and sent off to various testing stations, depending on the test suite purchased. There’s a broad range of equipment used - Automated Particle Quantifiers, Particle Counters, multiple Viscometers, Fourier Transform Infra-Red Spectrophotometers (FTIRs), Inductively Coupled Plasma Spectrophotometers (ICPs) and Gas Chromatographys (GCs) for fuel dilution….and that’s just for oil testing.
Once samples have finished processing, they go through rigorous quality checks before the test results are interpreted and the report is prepared.
You might think that with the state-of-the-art analysis that’s undertaken, the report that gets returned to the customer is going to be confusing and full of jargon, a bit like a phlebotomy report you might see after a blood test.
Fortunately though, that’s not the case. Customers go back to the user-friendly Cat S.O.S Web to review fluid results, analysis and interpretation recommendations, and can even enter maintenance events, actions taken and generate reports for review. S.O.S also integrates into other Cat applications, making it a one-stop shop for all sampling information.
The fluid sample interpretation reports are broken down into five simple sections:
- Wear Metals - to show potential component damage or wear and tear, including normal wear increases for trending and monitoring.
- Additives/Formulations - to indicate if your compartment contains the correct fluid.
- Contaminants – indicating sample cleanliness or less than ideal sampling practices. This can also include dirt, water entry and increases from wear particles.
- Oil Condition – showing whether the fluid in your compartment is still operating at expected level or if it needs to be considered for changing. The Oil viscosity or changes in viscosity may indicate incorrect top ups or compartment fluid transfers.
- Interpretation - which provides an overall visual health indication and recommendations based on the analysis.
So what sort of results do we see? Engine dusting can be a big issue, particularly on machines operating in hot, dry regions. Imagine the time, energy, effort and dollars saved by sending a fluid sample for testing – at a cost of $27 – and finding out your air filter may not have been installed properly. A few minutes to fix that problem far outweighs your $175,000 engine having a catastrophic failure due to super fine dust particles getting into the air inlet.
Another common example is copper leaching. We see this a lot in engine, hydraulic and transmission samples after an event such as water ingress or a fluid change. These compartment coolers are all lined with copper which can leach off. By examining the trends and parts per million of copper in each sample, we can identify the difference between normal leaching or potential wear and tear of the compartments.
Sometimes equipment owners might get a surprise when the results come back, but at other times they might be aware that something is not quite right and can use fluid sampling to verify or alleviate their concerns.
We recently received a call from a customer in a regional area who had noticed increased wear in his dump truck. The customer, working with our analysts, was able to determine that an inexperienced driver and increased truck loads were putting extra pressure on the vehicle. By identifying the issue before the truck broke down or had to be pulled apart to search for problems, the analysis and interpretation allowed the customer to put preventative steps in place to stop the issue becoming any worse.
Want to know more? Click below.